Antipyretics for children are prescribed by a pediatrician. But there are emergency situations with fever when the child needs to be given medicine immediately. Then the parents take responsibility and use antipyretic drugs.
4390 0 0
Making a ceiling from plastic panels: detailed instructions and photo report for the work performed
What is allowed to be given to infants? How can you lower the temperature in older children? What medications are the safest?
Greetings. In this article I will tell you how to make a ceiling from plastic panels. Nowadays, finishing the ceiling with plastic panels is becoming increasingly common when finishing rooms such as bathrooms, kitchens, hallways, balconies, etc. And this is not surprising, since the use of plastic panels allows you to finish the ceiling quickly, cheaply and for a long time.
Features of cladding with plastic panels
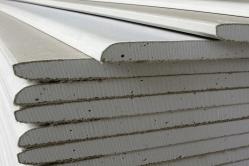
- Plastic panels, or plastic lining as they are commonly called, are made of polyvinyl chloride (PVC). This finishing material is distinguished by the following qualities: Light weight
- due to the hollow structure; Structural rigidity
- due to the presence of longitudinal stiffeners in the internal volume of the bar; Abrasion resistance
- due to through-painting of plastic; Chemical resistance
- — PVC lining can be washed with anything, with the exception of acetone-containing solvents; Variety of colors and textures
- (there is even a peach color with a matte surface); Affordable price
in comparison with wooden lining.
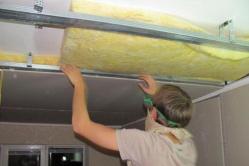
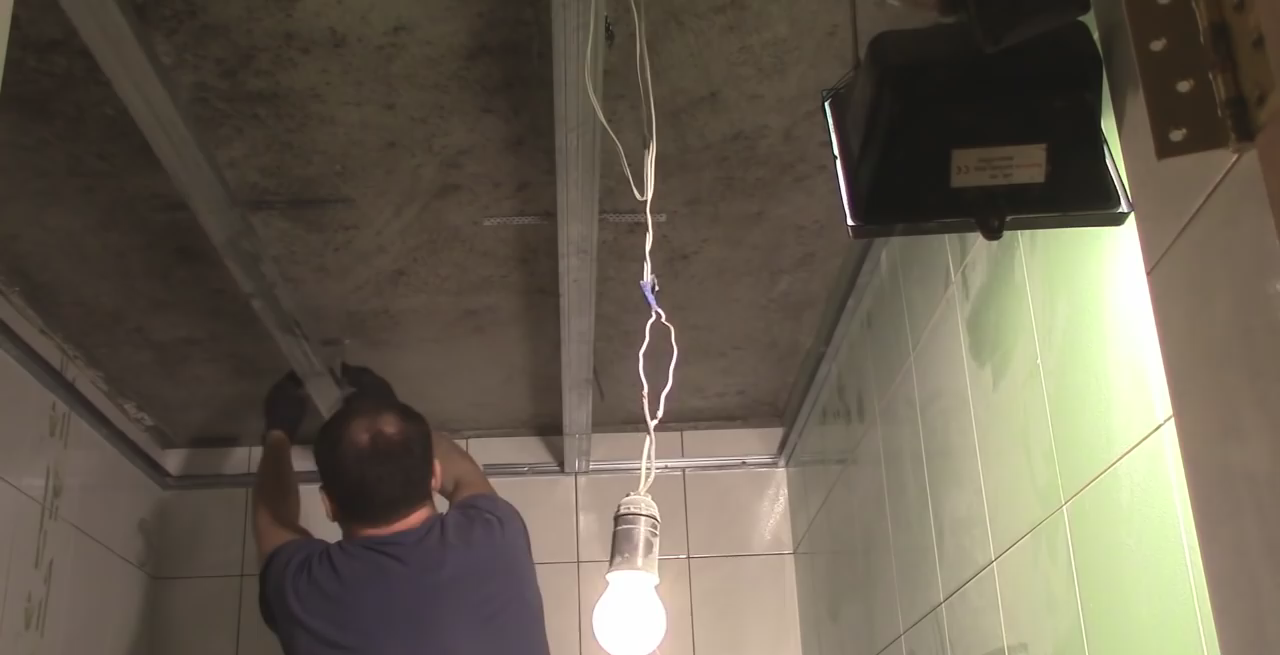
Installation of PVC panels on the ceiling is carried out with the preliminary installation of a supporting frame - lathing made of a metal profile or wooden beam. As a result, it becomes possible to simply and efficiently install communications and lighting equipment. This advantage will be relevant when arranging a kitchen or hallway, where a suspended ceiling and spotlights are traditionally installed.
What sizes of PVC panels are preferable when finishing the ceiling?
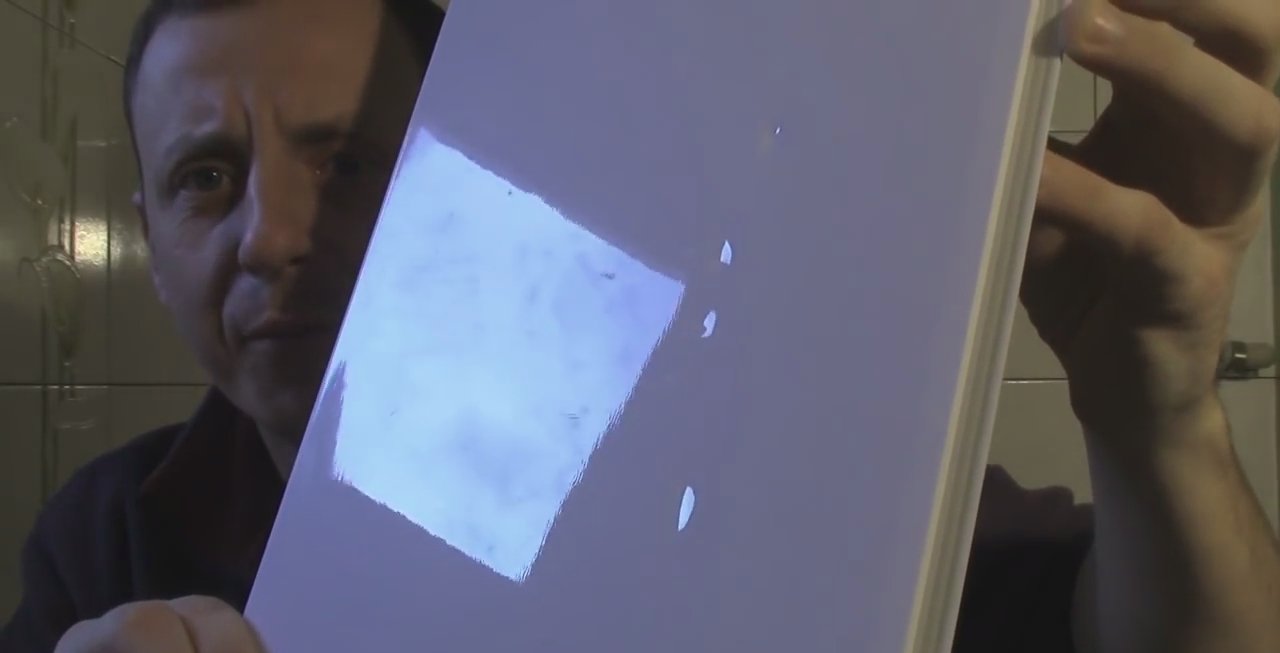
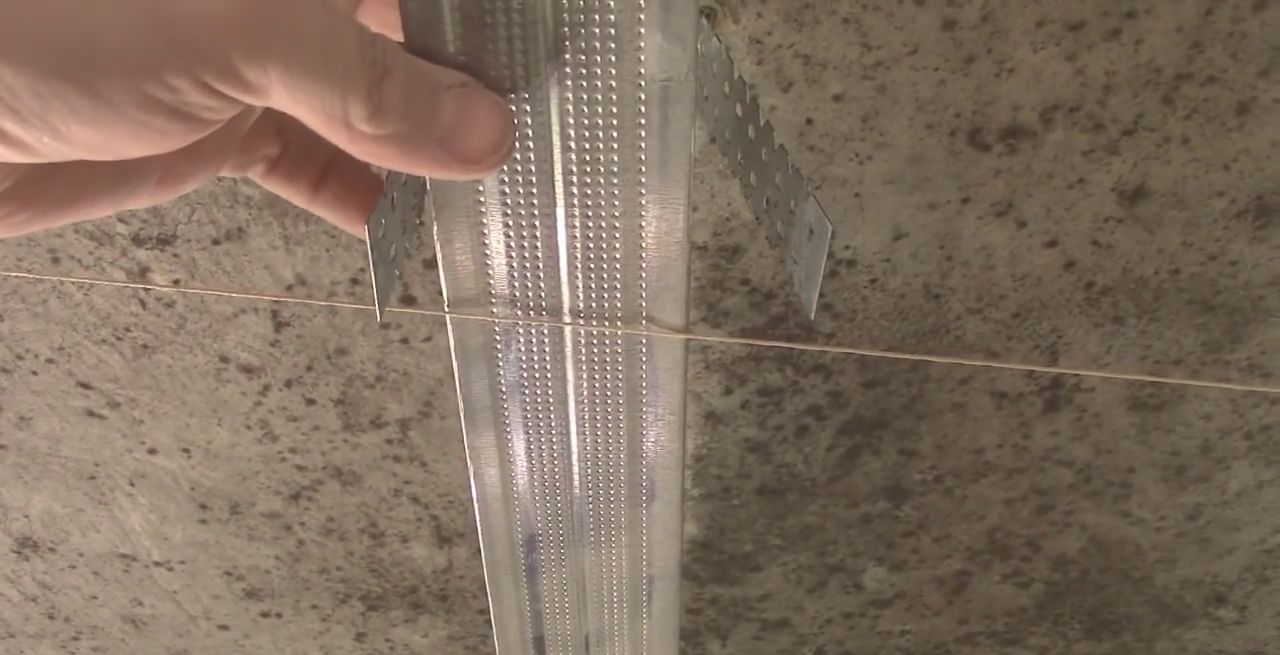
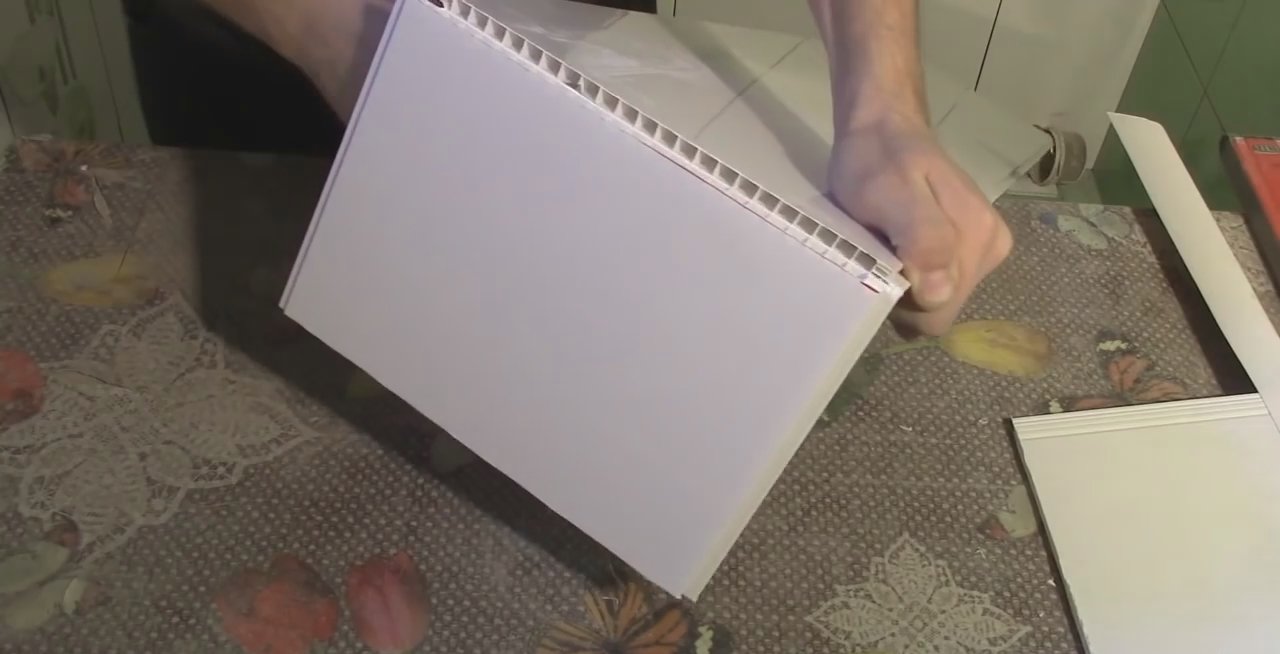
I would like to draw your attention to a very important point - when buying plastic lining, do not forget to unpack the pack and inspect each panel from the front side for the presence of relief. As you can see in the photo, the new board has dented areas, which means that it will need to be replaced with a board of similar sizes and colors, but without damage.
How far should the plastic cladding be set back from the sub-ceiling? The minimum distance is determined by two parameters:
- The lowest point on the rough ceiling, since it is at this point that the finishing will be leveled
- Thickness of the selected profile.
How to make a plastic ceiling correctly? The main stages of work to be performed are listed in this table.

Let's consider the listed stages in more detail.
Assembling the frame for mounting panels
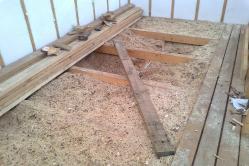
What is better to use to assemble the sheathing - a metal profile or a wooden beam?
It all depends on what materials are available. That is, if there is timber, we use it, if there are metal products, we install them.
If there is neither one nor the other, I advise you to use a profile, since it is not inferior in strength to wood and at the same time weighs less. In addition, the price of a metal sheathing will be more affordable than the cost of a timber frame, and installation will be faster.
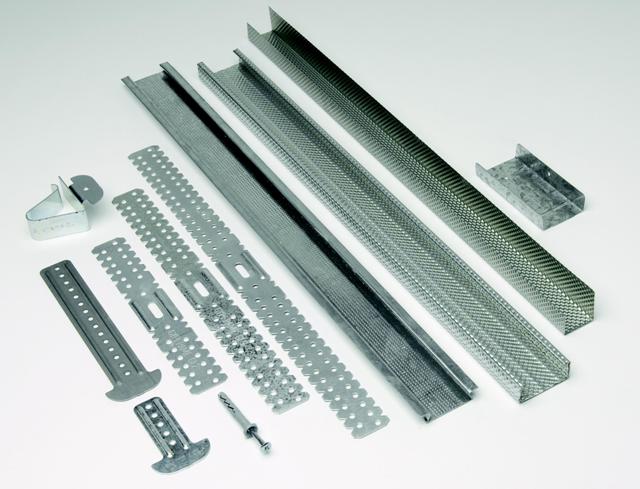
To implement this stage of installation work, the following tools and materials will be required:
- Hammer and drills for concrete;
- Screwdriver with drill and metal drill function;
- Metal scissors;
- Hammer;
- Water level and lace;
- Stable stepladder;
- U-shaped metal profile 25×50×25 mm;
- Fastening hangers taking into account the location every 40 cm along the length of the intermediate profiles;
- Self-tapping screws for assembling metal structures from profiles;
- Screws with plastic dowels.
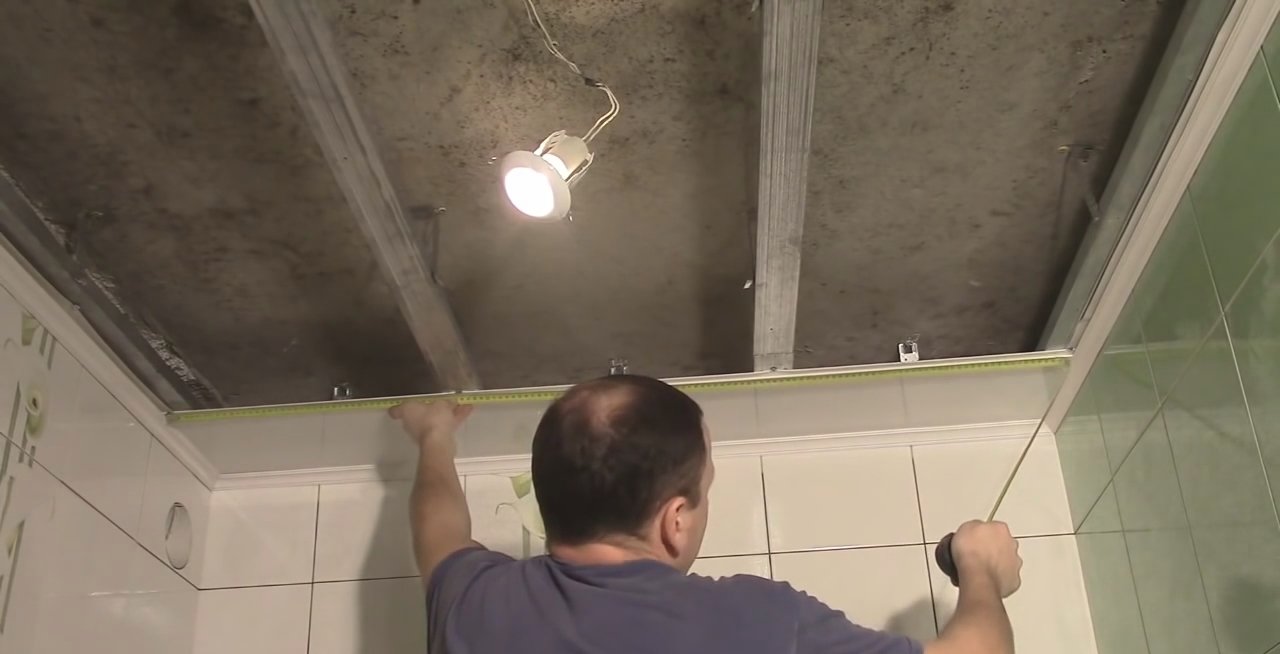
How to install a lath for a plastic ceiling in a bathroom?
- We determine how much the new ceiling will be lowered relative to the standard ceiling;
- Using a level, mark the location of the profile along the perimeter of the walls;
- We connect the points placed in the corners by marking a line with a cord;
- We measure the length of the walls according to the markings made;
- We transfer the resulting dimensions to a U-shaped profile and cut fragments that will be fixed along the perimeter of the walls;
- If the used profile is not perforated, use a metal drill to drill holes in it according to the diameter of the prepared dowels, taking into account the pitch between the fastening elements of no more than 40 cm;

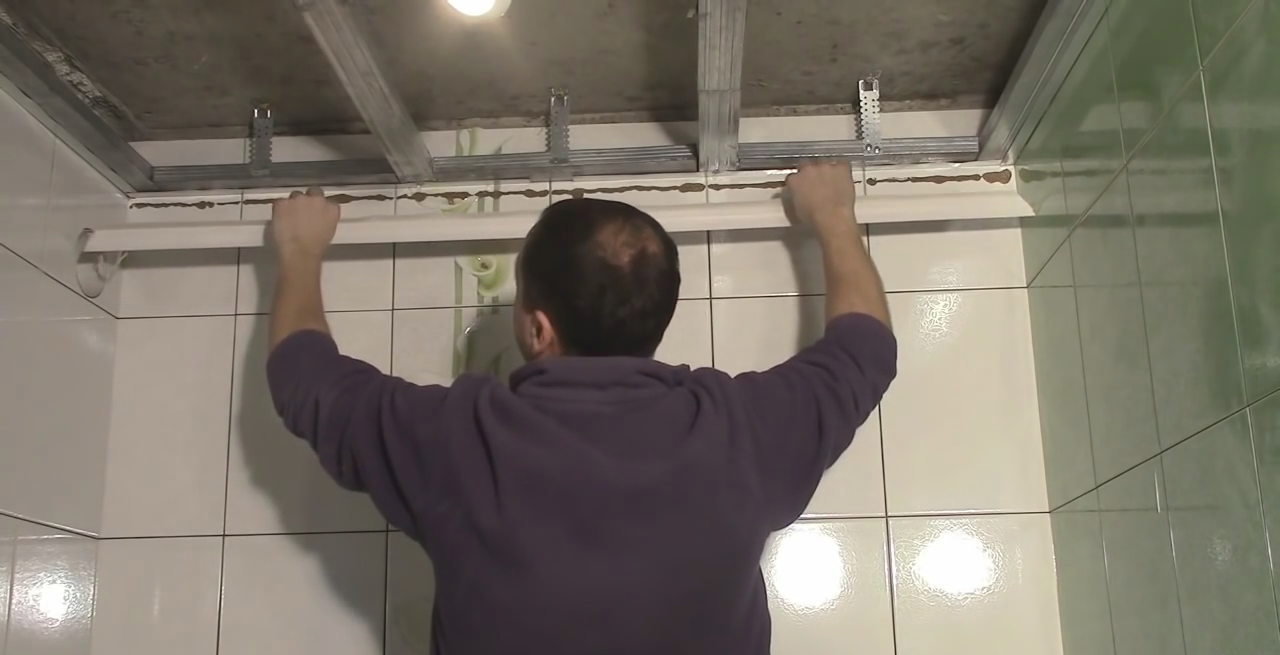
- We apply the prepared profiles to the line marked along the cord and drill holes for the dowels in the wall;
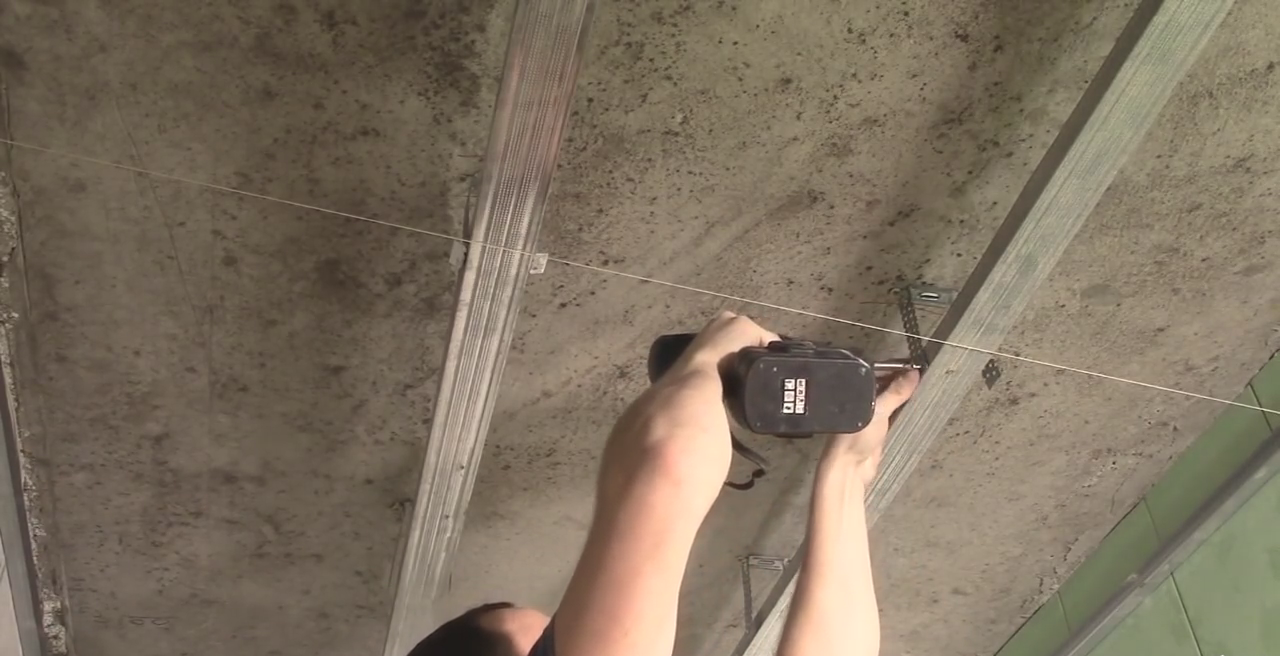
If, as in our case, the work is carried out in a room lined with tiles, we use a hammer drill and drills with pobedite surfacing to drill the walls. We fasten the belt from the profile in two steps. First, in drilling mode, we go through the tile. Then, using impact mode, we drill the wall.
- We drive dowels into the holes made and fix the profile according to the markings;
- On the ceiling, we use a lace to mark the location of the intermediate profiles;
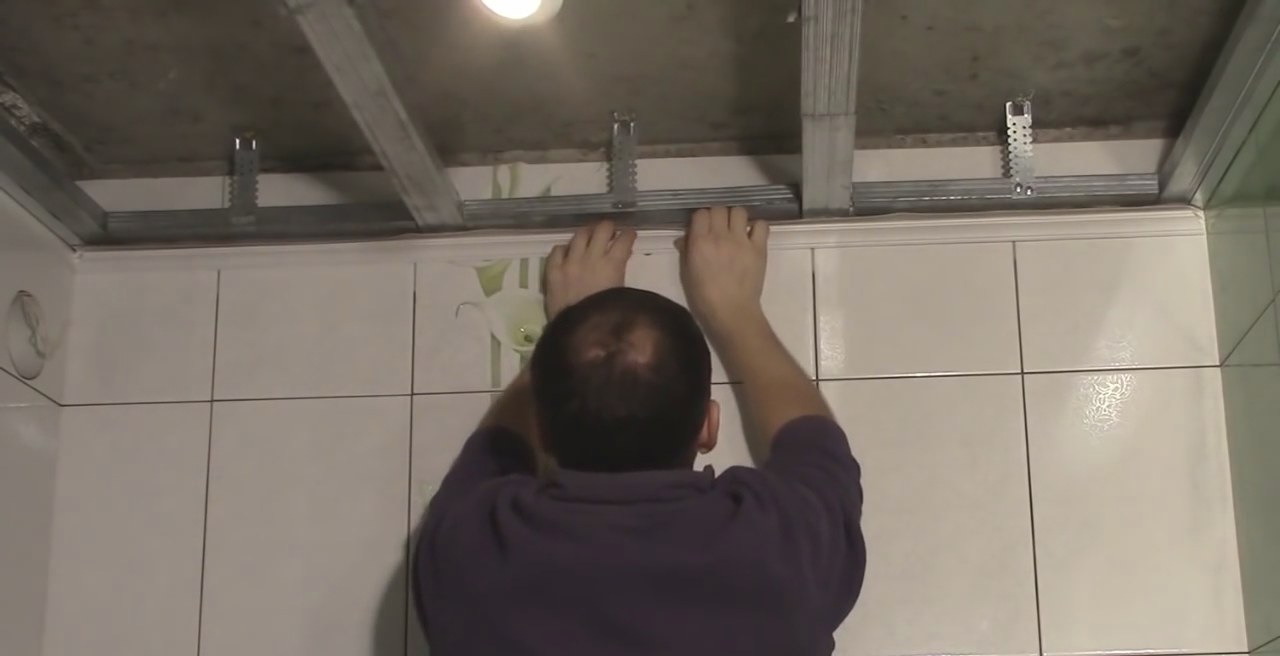
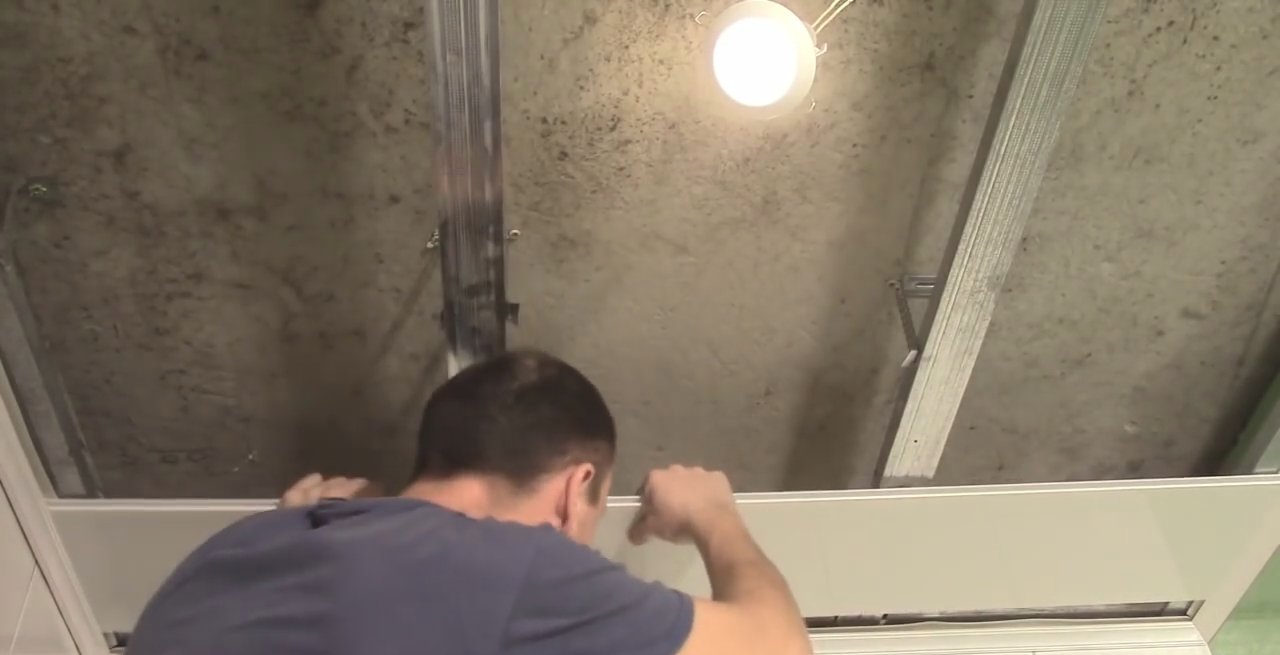
- We fasten the hangers along the intended lines onto the dowels in increments of no more than 0.5 meters;
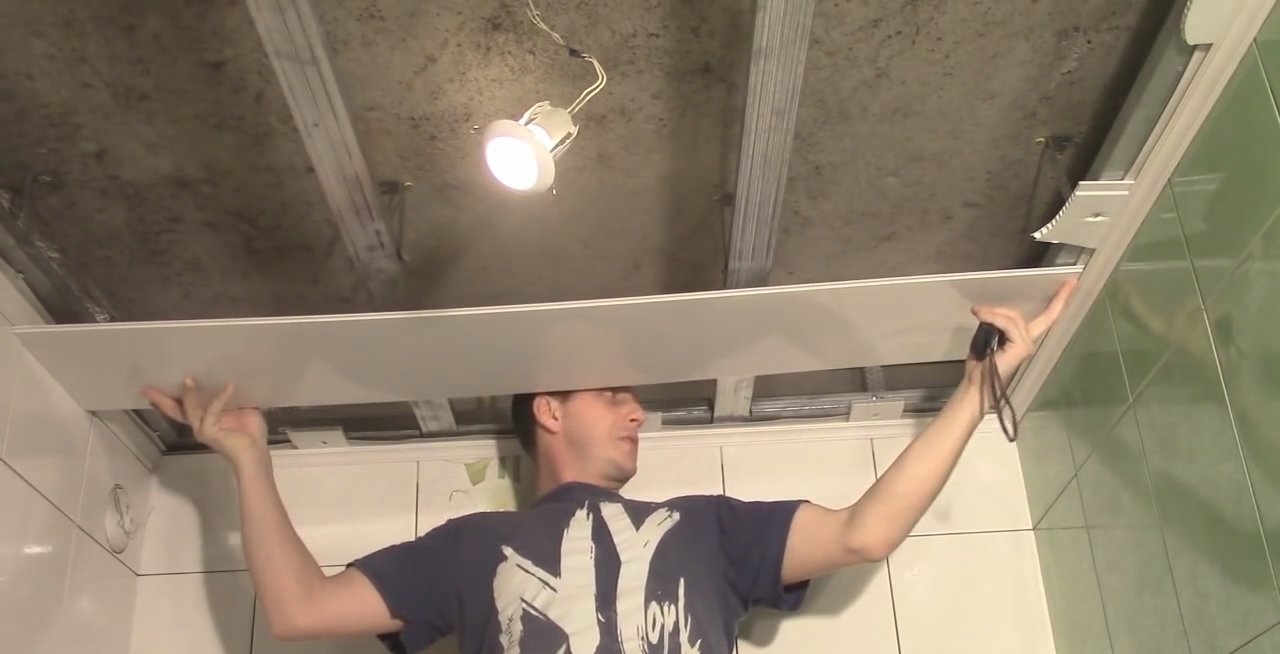
- We install intermediate guide battens into a profile fixed around the perimeter of the room and fasten it to the hangers with self-tapping screws;
The profile in the middle of the room can bend under its own weight. To prevent the formation of a characteristic “belly” when installing the sheathing, we stretch the cord in the center of the room between the profiles fixed along the perimeter. As a result, the intermediate crossbars in the sheathing will have to touch the cord, but not push through it.
By the way, it happens that the metal profile is short, which means that from several smaller strips you need to assemble a strip that will fit in size. How to do it?
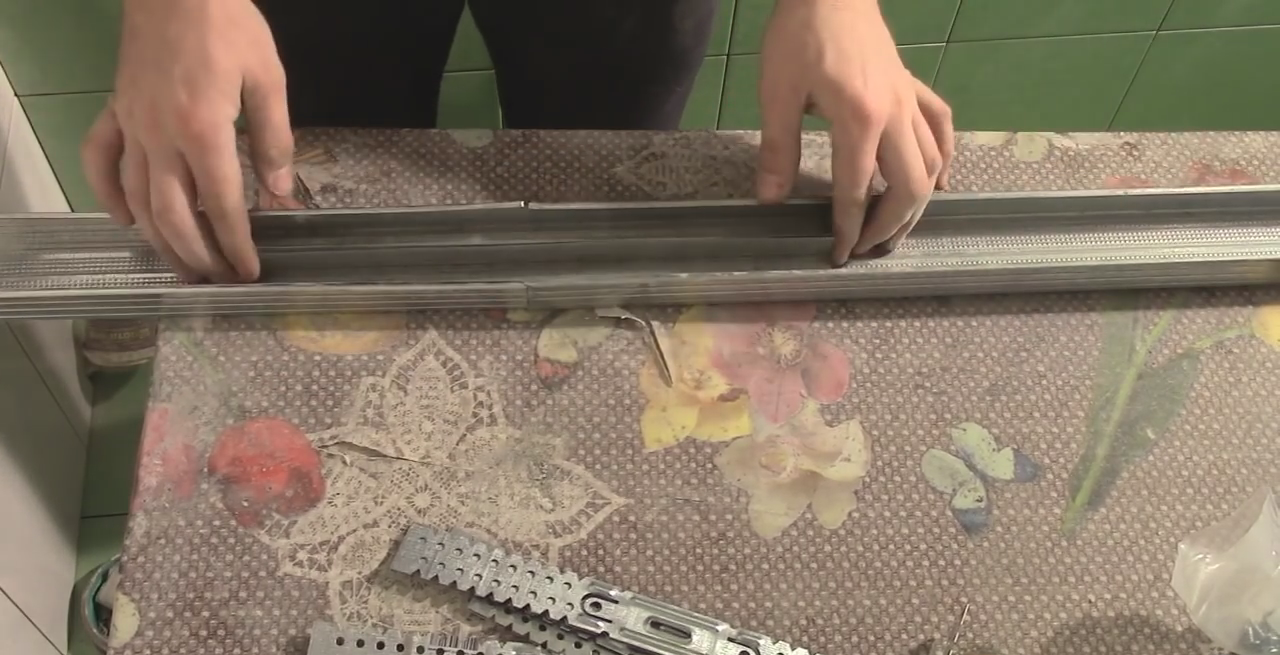
In fact, there is nothing complicated. It is necessary to join two pieces of the profile and insert a piece with a smaller cross-section into the combined ends.
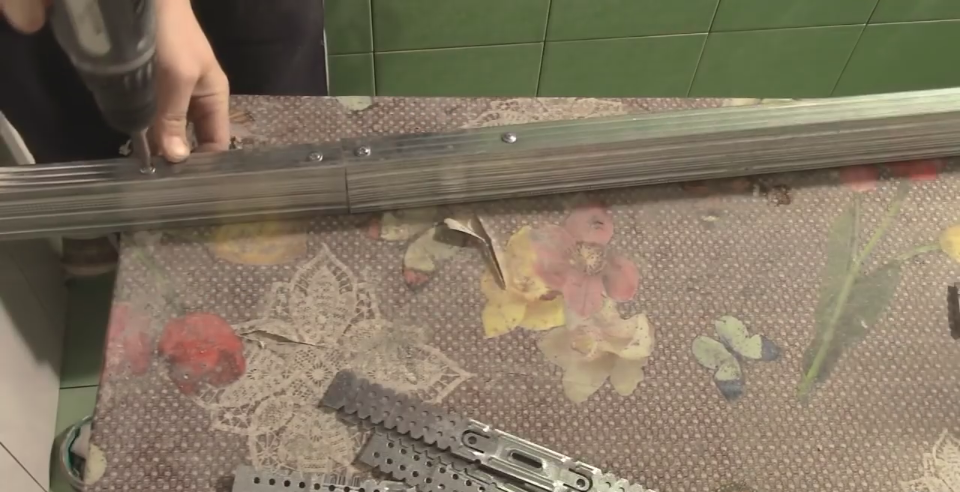
Then the assembled structure, as shown in the photo, needs to be fixed with self-tapping screws.
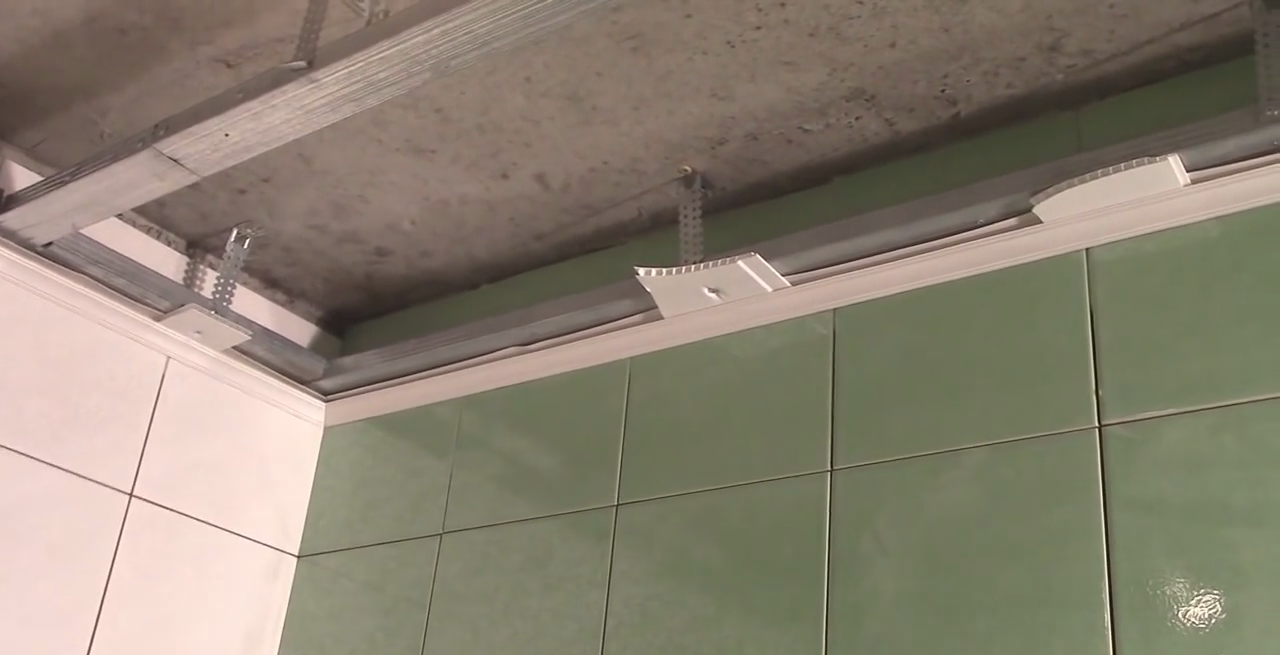
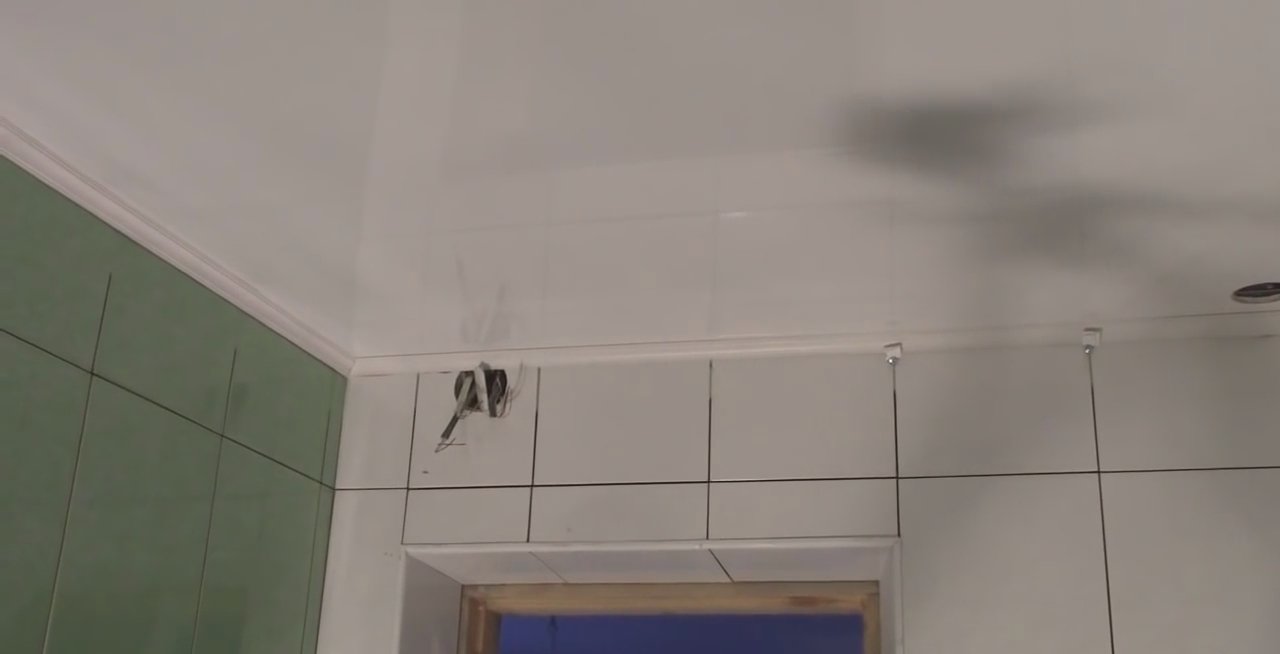
Now you know how to cover the ceiling with a metal frame, which means it’s time to install the ceiling plinth, into which we will then insert the PVC edges.
Fastening the baseboard around the perimeter of the room
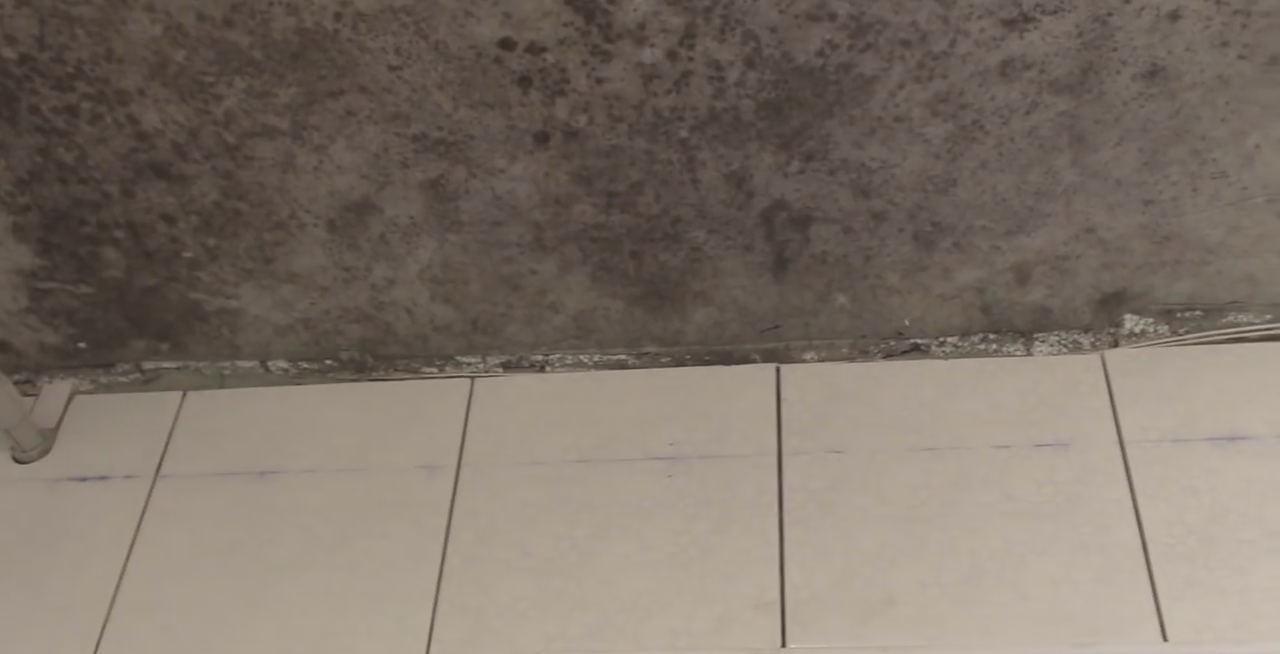
If you are working in a tiled room, before you begin installing the baseboard, you need to grout the joints between the tiles. If this is not done in advance, then it will be very difficult to crawl under the installed baseboard. But, if you apply grout before completing the installation work, it will be dusty and dirty when the repair is completed.
Installation is carried out using the following tools and materials:
- Screwdriver and screws for metal;
- A miter box and a hacksaw for cutting the baseboard at the desired angle;
- Segment knife;
- Liquid nails or baguette glue;
- 647 solvent or white spirit;
- Lint-free rags.
The instructions for installing the plinth are as follows:
- Using a lint-free cloth soaked in solvent, wipe the perimeter of the walls directly under the profile;
If you do not degrease the tile surface, the glue will stick, but not for long. Degreasing improves the adhesion of wall cladding and adhesive.
- We cut 4 pieces of plinth along the length of the walls so that their ends have an angle of 45 degrees, provided that the angle between the walls is straight;
It is advisable to use solid skirting boards, as the result will look better and be more reliable during operation. In addition, we will glue the plinth only to 3 walls - 2 long and 1 short. The opposite short wall can be sealed with baseboard after installing the last panel.
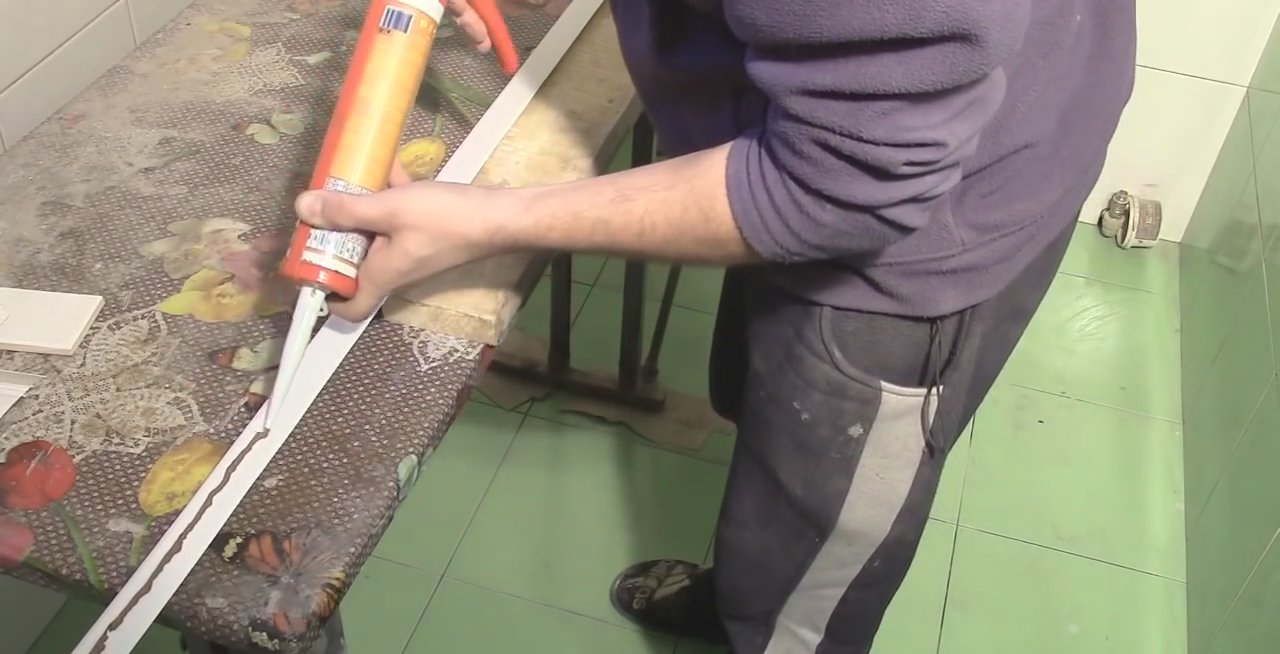
- Apply a line of glue to the baseboard along the wide shelf;
By the way, to prevent the glue from flowing out of the can when it is not necessary, after applying the strip, do not forget to release the gun to release the pressure.
- We apply the plinth with the adhesive side to the wall and press it along the entire length;
- Then we tear off the glued strip and count down 5 seconds;
- After this, we glue the plank into place and finally press it along the entire length to the wall and the sheathing profile;
Since the underside of the baseboard and the tiles are glossy, it is possible that the plastic strip will slide off when gluing. In order not to stand and hold the plank for half an hour or an hour until it dries completely, I recommend cutting the unnecessary piece of the panel into small fragments and, as shown in the photo, insert it into the baseboard and secure it to the sheathing with a self-tapping screw. After the glue has completely dried, the accessories will need to be removed.
Plastic lining fasteners
To complete this step you will need the following tools and materials:
- Screwdriver with a shaped bit;
- Metal hacksaw and segment knife;
- Large square;
- Roulette;
- A pencil or marker that can be washed off;
- Self-tapping screws with press washer.
The most difficult moment is installing the first and last board, so I recommend focusing especially on these moments.
We begin installation from the wall located opposite the front door. This is done so that the solid planks are visible, since they are the ones that will catch the eye. At the same time, the trimmed last plank located above the entrance will be almost invisible.
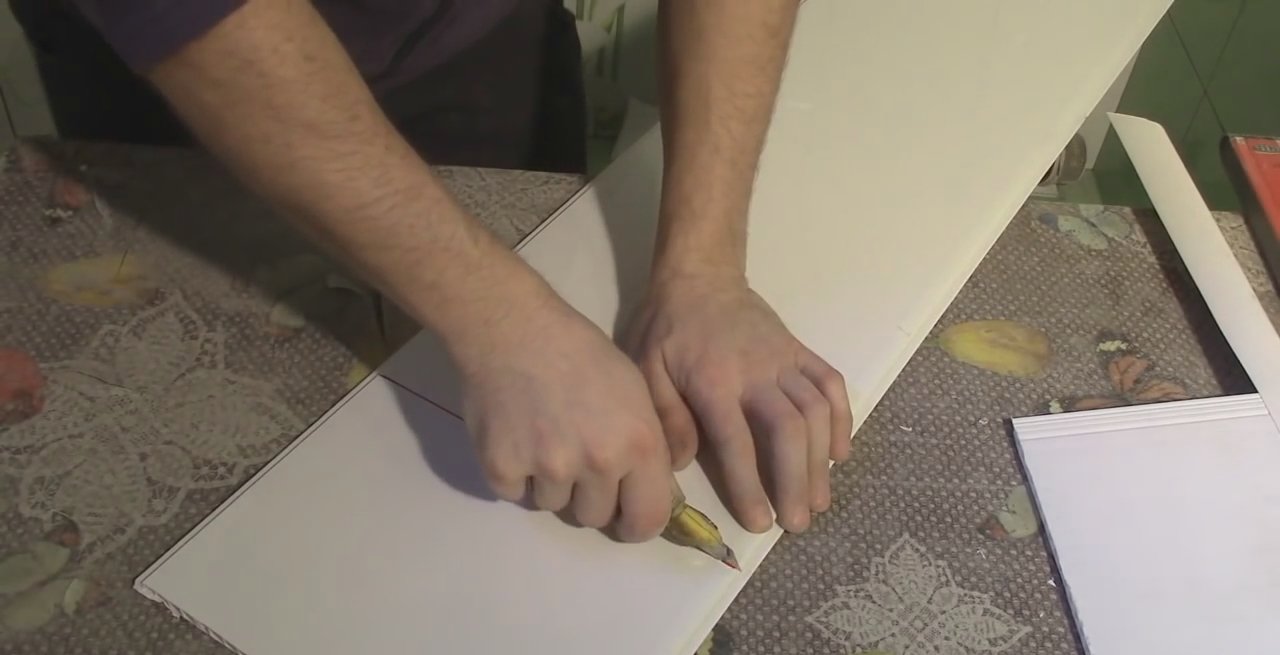
Before covering the surface with panels, a few words about how to cut them. To begin with, we draw a strip along the square, which will be located at right angles to the longitudinal edges of the lining. Next, we extend one segment on the knife and make several continuous cuts along one line.
After this, you can carefully break the bar and adjust the edges of the cut so that there is no bend.
How to decorate the ceiling with plastic lining correctly?
- We measure the size of the slats and cut the first panel to these dimensions;
How to take measurements correctly? We measure the distance from wall to wall, and subtract 2 cm from the resulting number, that is, 1 cm on each side. This is necessary so that the cut strip fits in as shown in the photo, and so that it does not need to be bent too much.
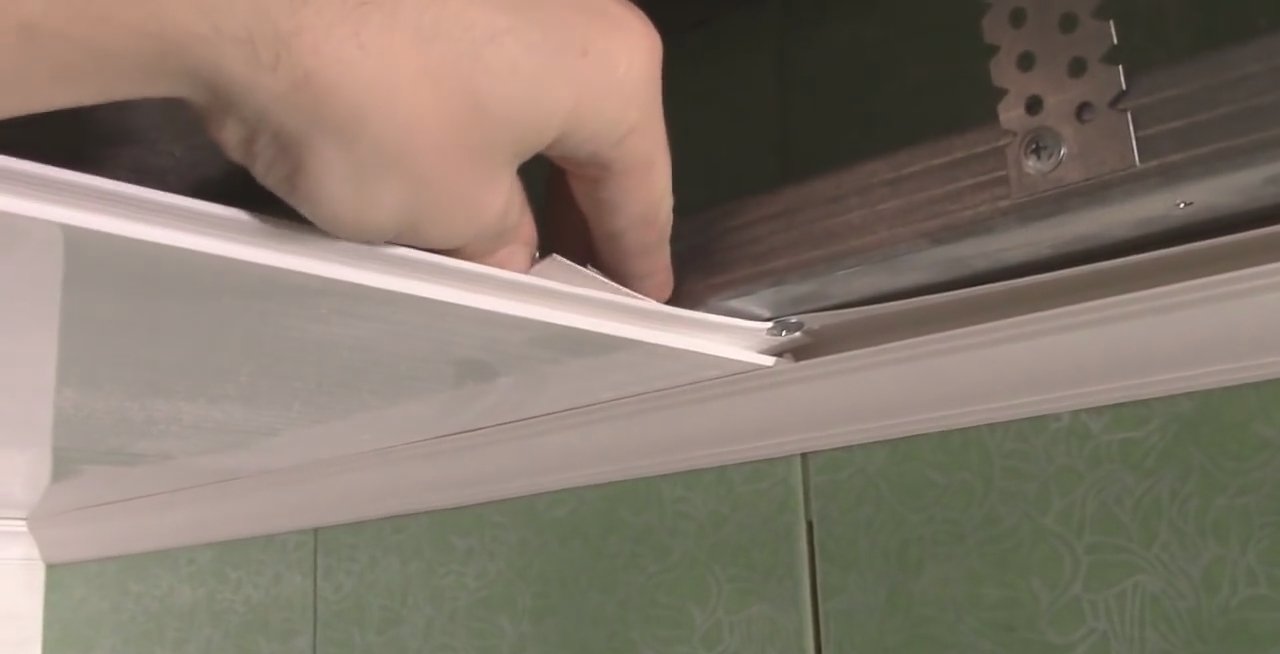
- We insert the cut strip into the baseboard towards the wall with the end where the tenon is located, so that the side with the groove faces towards the open sheathing;
The groove in the baseboard is not perfectly smooth, so it may happen that the edge of the plank will hit when you push it in. Do not make any special efforts and, especially, do not knock on the back side of the bar. Take a plaster spatula and, pushing it between the edge of the plank and the baseboard, try to bend the “wave”. You will feel that the plank has entered properly when its entire edge rests against the edge of the groove on the plinth.
- After the first plank is level, we fasten it to the profile with self-tapping screws;
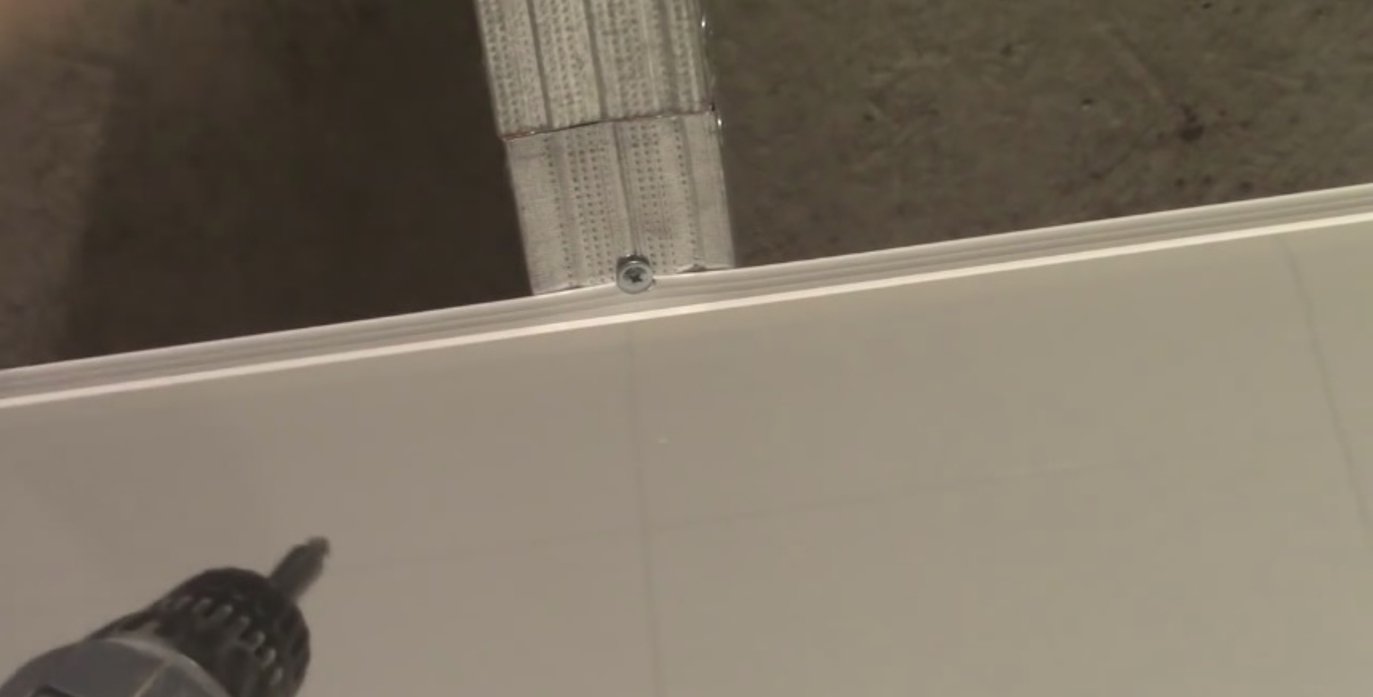
How to fasten the plank with self-tapping screws? Someone screws a self-tapping screw directly into the edge of a PVC ceiling panel. I don’t recommend doing this; it’s better to screw it into the profile so that the plastic is pressed with a press washer.
- At the corners of the first plank, we screw in the screws so that they press not only the panel, but also the edge of the baseboard;
- If the angle between the walls in the room is straight, measure how many planks are needed for the ceiling, and make the required number of blanks of the same size;
- If the angle between the walls is indirect, we take measurements for each panel separately;
- After the first panel is installed, we similarly lay plastic panels on the ceiling up to the last strip;
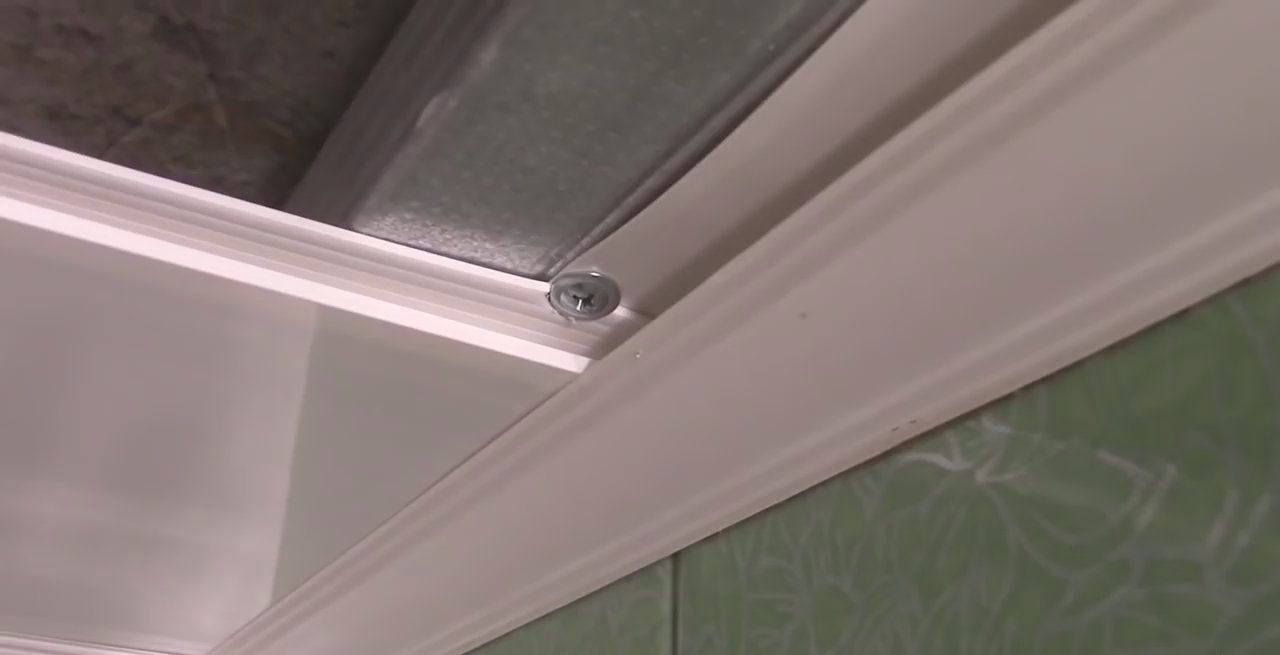
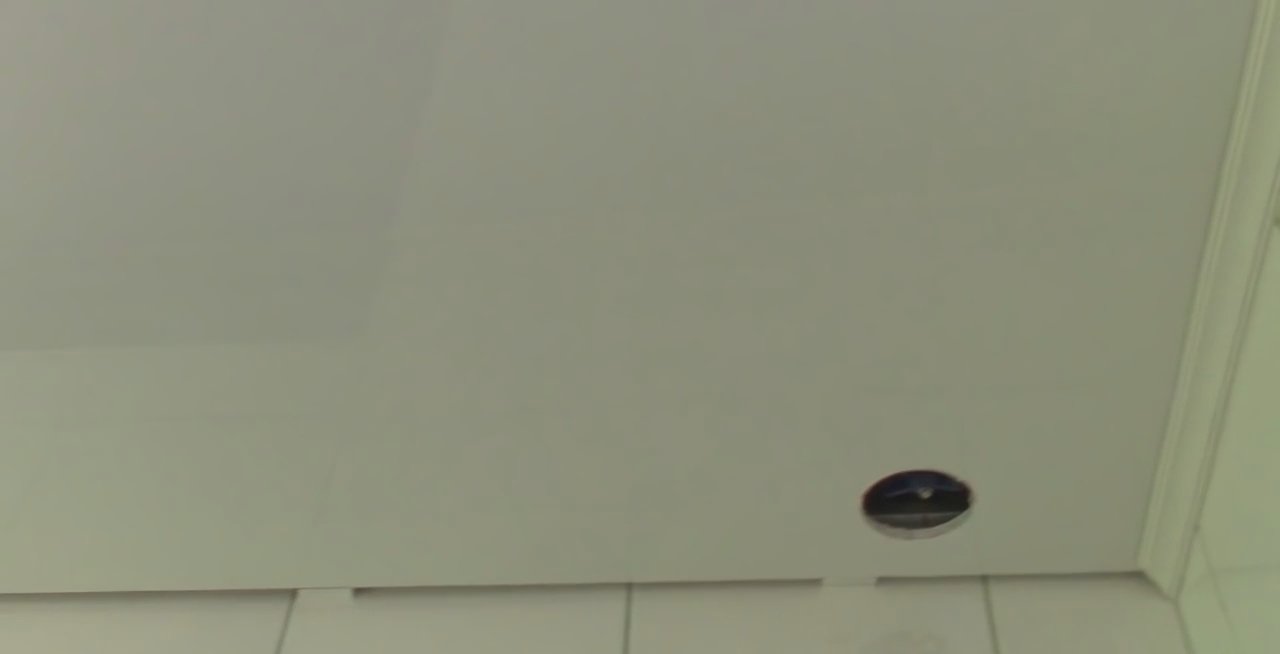
When tightened with a self-tapping screw, the edge of the panel rises and a gap opens close to the baseboard. What can be done to prevent there being a gap? You can lower the screw, but this will limit the strength of the entire structure. The best option is to insert small pieces of lining into the gap between the plank and the profile in close proximity to the screw.
- We measure the last bar both in length and width;
When we measure the remaining gap in width, we subtract 1 cm from the resulting number in order to insert the panel with a tenon into the groove and move it towards the wall.
- We cut the bar according to the taken dimensions;
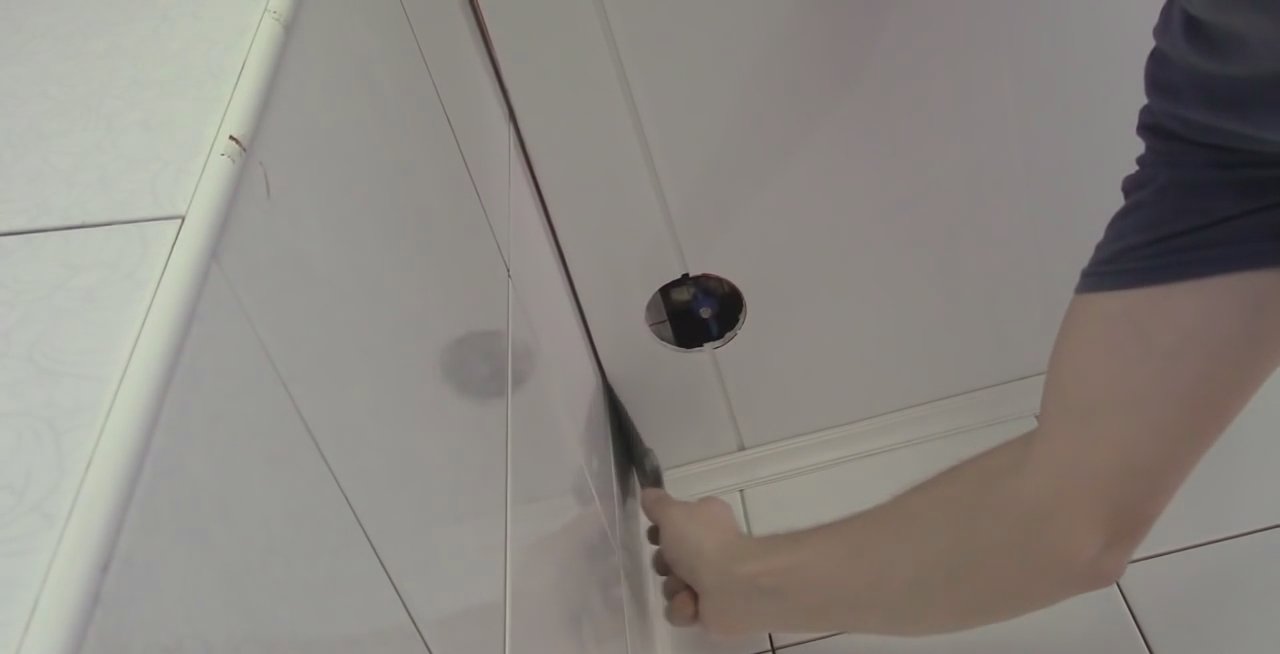
- We insert the cut panel with a tenon into the groove, pushing it from the cut edge with a spatula;
- From pieces of the plank we cut small inserts, which we insert into the gap between the edge of the lining and the wall;
- We mark the previously prepared fourth piece of plinth under the spacers inserted between the lining and the wall;
- Using the markings on the plinth, we make cutouts;

- Next, we cut the groove on the plinth into which the lining fits so that it fits into the recess between the ceiling sheathing and the wall;
- Now we apply glue to the side of the plinth that will be adjacent to the wall and glue it into the gap;
- At this point, the ceiling covering can be considered complete.
Conclusion
So, I talked in some detail about how to assemble a ceiling from plastic panels. I hope that the proposed instructions will be useful to you and you will be able to apply them when arranging your home.
You will probably have some questions while finishing the room. Ask these questions in the comments to the text and I promise you will receive comprehensive answers. In addition, I recommend watching the video in this article.
October 23, 2016If you want to express gratitude, add a clarification or objection, or ask the author something - add a comment or say thank you!